
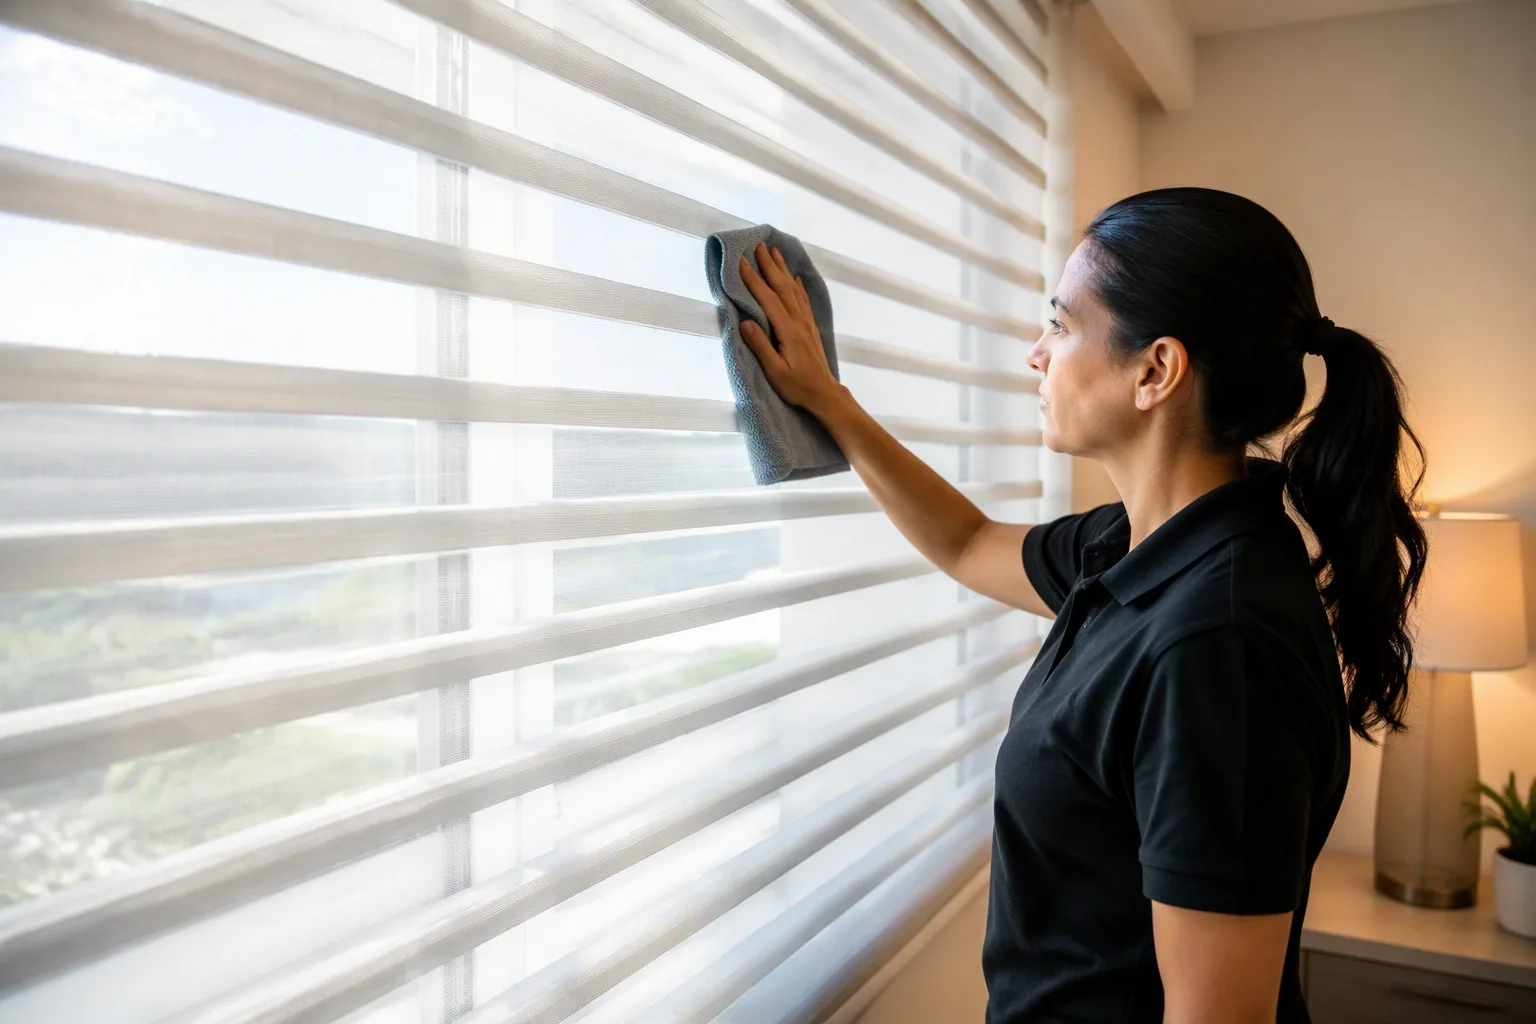

The safest way to clean sheer shades is to dust both sheer facings with a soft brush vacuum attachment on low suction, blow dust out from between the fabric vanes with a hair dryer on the cool setting, and only spot clean a mark by blotting it with a barely damp cloth. Sheer shadings (silhouette-style shades) are made of two sheer fabric layers with soft fabric vanes suspended between them, so they need a gentler routine than a flat roller blind. The steps below keep the fabric clear, the vanes smooth and the shade rolling up properly.
Quick Answer: How to Clean Sheer Shades
- Lower the shade fully so the whole fabric panel is flat and reachable.
- Close the vanes and dust the front facing with a soft brush attachment on low suction, working side to side from top to bottom.
- Open the vanes and blow out the dust between the layers with a hair dryer on cool, or short bursts of compressed air.
- Dust the window-facing side the same way, if you can reach it.
- Spot clean only when needed by blotting with a microfibre cloth barely dampened with lukewarm water.
- Leave the shade lowered until it’s completely dry before rolling it up.
Why Sheer Shades Need Their Own Cleaning Routine
A sheer shading isn’t one piece of fabric. It’s a front sheer, a back sheer and a row of soft fabric vanes connecting them, and the whole panel rolls up around a tube inside the headrail. That construction is what gives the soft, diffused light, but it also means dust can settle on the outer faces and inside the pockets between the vanes.
The vanes themselves are the delicate part. They’re designed to tilt open and closed smoothly, and a firm press from a brush, a cloth or a hand can leave a crease that shows every time light passes through. The goal of every step below is to remove dust without pushing on the fabric.
What You Need
- A vacuum with a soft brush or upholstery attachment, ideally with adjustable suction
- A hair dryer with a cool setting, or a can of compressed air
- A soft feather duster or clean microfibre duster for quick touch-ups
- Two clean, white microfibre cloths (white so no dye transfers to the fabric)
- Lukewarm water and a drop of mild, clear dish soap for stubborn marks
Step 1: Routine Dusting (Every One to Two Weeks)
Lower the shade all the way and close the vanes so the front facing is as flat as possible. A feather duster or microfibre duster run lightly across the fabric picks up day-to-day dust. For a slightly deeper pass, use the vacuum brush on its lowest suction and hold it just off the surface, so the bristles skim the sheer rather than pressing into it.
Work side to side, in the same direction as the vanes, and go from the top down. If the suction pulls the sheer toward the nozzle, turn it down or back off a little; a sheer that gets sucked in can stretch or snag.
Step 2: Clearing Dust From Between the Vanes
This is the part most people miss, and it’s where the greyish haze comes from on a shade that looks clean from the room. Tilt the vanes open, set a hair dryer to its cool, low setting and move it slowly across the shade a short distance from the fabric, blowing the loose dust out through the open vanes. Compressed air works too; keep the can upright and use short bursts so you don’t soak the fabric with propellant.
Avoid hot air. Heat can soften the bond between the vanes and the facings and can leave a wave in the fabric that doesn’t settle back. Two or three times a year is enough for most rooms.
Step 3: Spot Cleaning Marks Without Leaving a Ring
Sheer fabric is thin and lets light through, so any water mark or clean patch shows more than it would on a solid blind. Before you treat a mark, try the dry methods first; a lot of what looks like a stain is just settled dust.
If a mark stays, dampen a white microfibre cloth with lukewarm water (add a single drop of mild dish soap only if water alone doesn’t work), wring it out until it’s barely damp, and blot from the outside of the mark inward. Don’t rub, and don’t wet a large area. Follow with a cloth dampened in plain water to lift any soap, then let the area air dry with the shade fully lowered. Test first on a low corner that’s out of sight.
Be realistic: spot cleaning a heavily dusted shade can leave that one spot brighter than the rest. If the whole panel has gone dull, an even dusting and air pass across the entire shade usually looks better than chasing individual marks.
How to Clean Sheer Shades Without Taking Them Down
Everything in this guide is done with the shade in place, and that’s what we recommend. Taking a sheer shading out of its brackets risks bending clips, knocking the roll out of alignment and creasing vanes while you carry it. A mounted shade is also easier to dry evenly, because it hangs straight.
What you should never do is roll the shade up while any part of it is damp. The fabric wraps tightly around the tube, so moisture gets trapped between layers and can leave permanent creases or, in humid rooms, a musty smell.
What Not to Do
- Don’t soak, submerge or machine wash a sheer shading. The fabric panel, vanes and headrail aren’t designed for it.
- Don’t use a steam cleaner or iron. Heat and moisture together can distort the vanes permanently.
- Skip harsh products such as bleach, ammonia, alcohol, solvent cleaners and furniture or dusting sprays made for hard surfaces.
- Don’t use stiff brushes or scrub. Sheer fabric snags and pills easily.
- Don’t press or pinch the vanes to wipe them individually; creases show against the light.
Kitchens, Bathrooms and Winter Dust
Some rooms need more attention than others. In kitchens, airborne cooking grease settles on fabric shades and holds onto dust, so a quick weekly dusting there stops it from turning into a sticky film. In bathrooms, run the fan and let the shade dry out after showers rather than rolling it up in a steamy room.
In GTA homes with forced-air heating, more dust tends to circulate near windows from late fall through winter, when the furnace runs most. Shortening your dusting interval over those months keeps build-up from reaching the vanes. Homes closer to Lake Ontario can also see a bit more humidity in the summer, which makes dust cling rather than fall away; regular dry dusting handles that better than wiping.
Cordless and Motorized Sheer Shades
With cordless shades, raise and lower the shade from the centre of the bottom rail so it rolls evenly. For motorized sheer shadings, stick to the dry methods near the headrail and keep all moisture away from the motor and wiring. If the shade stops moving smoothly or the vanes won’t open and close properly, that’s a mechanical issue rather than a cleaning one. Our guide to why a silhouette shade won’t close walks through the usual causes, and motorized owners can check our season-by-season maintenance checklist for motorized blinds.
Frequently Asked Questions
How often should sheer shades be cleaned?
A light dusting every week or two keeps most rooms looking fresh, and a little more often in kitchens and during the heating season. Clearing between the vanes with cool air two or three times a year is enough for most homes.
Can you wash sheer shades in the bathtub?
No. Sheer shadings aren’t made to be submerged; water can distort the vanes, leave marks on the sheer and damage the headrail and roller. Stick to dry cleaning and careful spot cleaning.
How do you get wrinkles or creases out of sheer shade vanes?
Light waves from being rolled up for a long time often relax if the shade is left fully lowered with the vanes open for a day or two. Sharp creases from pressure or heat usually don’t come out, and trying to steam or iron them tends to make things worse.
Can I use vinegar or a fabric cleaner on sheer shades?
We don’t recommend it. Lukewarm water, with a drop of mild dish soap if needed, is gentler on thin sheer fabric and less likely to leave a visible ring. Always test on a hidden corner first.
Time for New Sheer Shades?
If your shades have creased vanes, yellowed sheers or marks that won’t lift, a new made-to-measure shade often looks better than more cleaning. Browse our silhouette and sheer shadings to see fabric options, or read how they can brighten a dark room. We offer free in-home measurement and professional installation across Mississauga, Toronto and the GTA; request your free quote and we’ll give you a straight answer on whether cleaning, repair or replacement makes the most sense.